


FH6 Summer Festival Complete Walkthrough U4GM
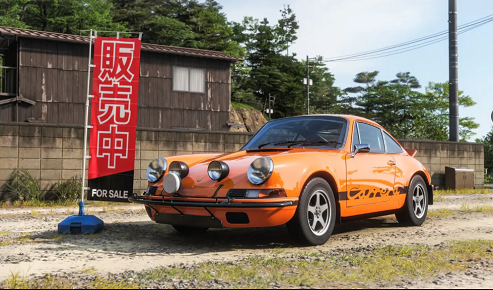
The Summer Festival Playlist looks busy at first, but it is far less painful when you plan around the cars you already need. Start with the Treasure Hunt before spending anything. Head to Shimenawa Drift Circuit, then check the roadside near the main highway for the small white and red boxes. One of them contains the chest and pays 100,000 FH6 Credits, which gives you a useful cushion for the rest of the week. After that, pick up the 2013 Wuling Sunshine S and drive to Hokuriku Sunflower Farm. Take a photo with the car and the sunflowers in view. It is a quick win, and the Yellow Sports Sunglasses reward takes very little effort.
Clear the Toyota Japan Taxi Tasks Together
The 2017 Toyota Japan Taxi does more work than you might expect this week. Get it through the Seasonal Job, then use it for the Weekly Challenge. In central Tokyo, find vending machines and hit them at three separate locations to earn the required Feed Me Skills. You do not need a special tune here. Just take the taxi to a Car Meet and park, then head to Tokyo Central Railway Station near the park for the photo objective. The Weekly Challenge pays another 25,000 Credits. Keep the taxi afterwards, because it is also needed for the Drag Meet and the second Seasonal Championship. For the Drag Meet, travel to the stadium on the western side of the map and enter the time attack. A lap below 48 seconds is the target. It might feel awkward in a taxi, but a sensible tune makes the run much more manageable.
Let the Mazda Cover Three Technical Events
The 1992 Mazda RX-7 Type R is the most efficient car for the middle section of the Playlist. Take it to the jump challenge and build speed well before the ramp. The goal is more than 590.6 feet, so do not lift off too early or brake at the last moment. A long approach usually works better than a frantic launch. The same car can handle the Hakone Turn Speed Zone, where you need to average at least 80 mph through the marked section. Get your speed on the road before the zone begins. Once you are inside, smooth steering matters more than wild acceleration. The Kawazu Nanakuru Loop Bridge Drift Zone asks for over 65,000 points. A dedicated drift tune helps, but even with a normal setup, steady slides are better than trying to force one huge angle and losing control.
Spend Carefully on the Trial and Championships
The Trial calls for the 2016 Ariel Nomad, available from the Auto Show for 52,000 Credits. It is a practical purchase, especially if you need a car that can stay composed on mixed or rough surfaces. Finish the event to receive the Corvette '53. The first Seasonal Championship requires a Lamborghini Huracan, listed at 190,000 Credits, and awards the Honda S800 when all races are complete. That price can sting if your balance is low, so collect the Treasure Hunt and Weekly Challenge rewards first. The second championship returns to the Toyota Japan Taxi and gives you the BMW Isetta. This is why buying cars at random is a poor approach. The taxi, Mazda, Ariel Nomad, Huracan, and Wuling Sunshine S cover nearly everything on the schedule, while extra purchases can wait until your Credits are safer.
Finish With a Clean Rivals Lap
Monthly Rivals is best left until the driving events are finished. You need to beat the listed lap time on the main circuit without striking obstacles. Take a few warm-up laps and learn where the track tightens. There is no prize for entering every corner at full speed, especially if that sends you into a barrier. A tidy line, gentle braking, and a little patience usually beat a brave but messy attempt. The reward is a Super Wheelspin, and players who want to build a larger reward balance can also look into Forza Horizon 6 Super Wheelspins while keeping their regular Playlist progress focused on clean, repeatable driving.

 English
 Arabic
 French
 Spanish
 Portuguese
 Deutsch
 Turkish
 Dutch
Dutch
 Italiano
 Russian
 Romaian
 Portuguese (Brazil)